Usage
Why use Peer Review?
Peer feedback, where students give each other feedback, can contribute to good education in several ways:
- In order to give good feedback on the work of others, they must also have a good command of the material themselves, which increases their own understanding.
- Students actively engage with the material, which helps them to remember it better.
- Giving and receiving feedback promotes interaction between students and may contribute to bonding.
- Receiving feedback from multiple perspectives can contribute to better understanding and better (final) products.
- Giving and receiving feedback are important skills that are also required in the professional field.
- In addition, working with peer feedback can relieve the teacher, as the teacher does not have to provide all the feedback.
To take into account
With peer feedback, it is important not to throw students in at the deep end: giving and receiving feedback are skills that need to be practised. Therefore, ensure that you provide good guidance and clear agreements. What can help:
• Explain why feedback is important: it is not an assessment, but a tool for learning.
• Practise recognising good and less good feedback in class.
• Before you start working online in class, practise giving and receiving feedback so that you, as a teacher, can make adjustments.
• Introduce clear criteria. Use the options in FeedbackFruits to clearly indicate the points on which students should give each other feedback. For example, use a rubric with clear criteria.
As a teacher, FeedbackFruits gives you insight into the process. After the online activity, discuss in class what went well and what could be improved in the peer feedback process.
Steps in Brightspace
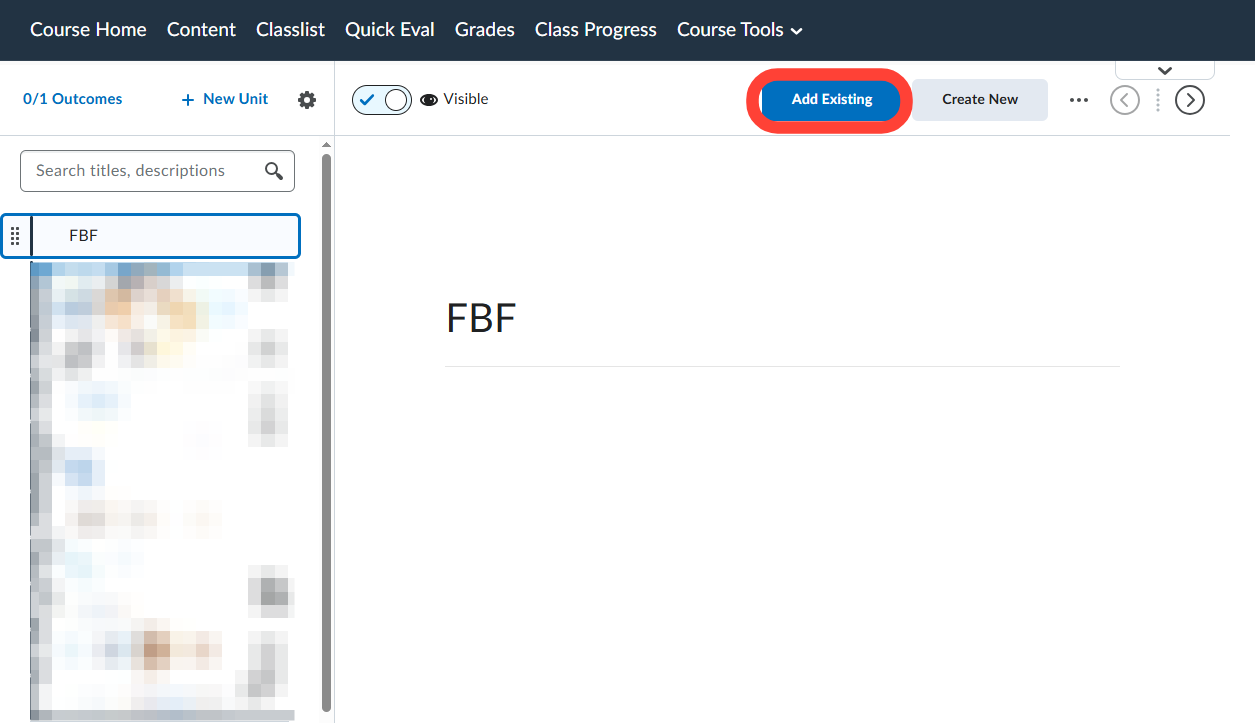
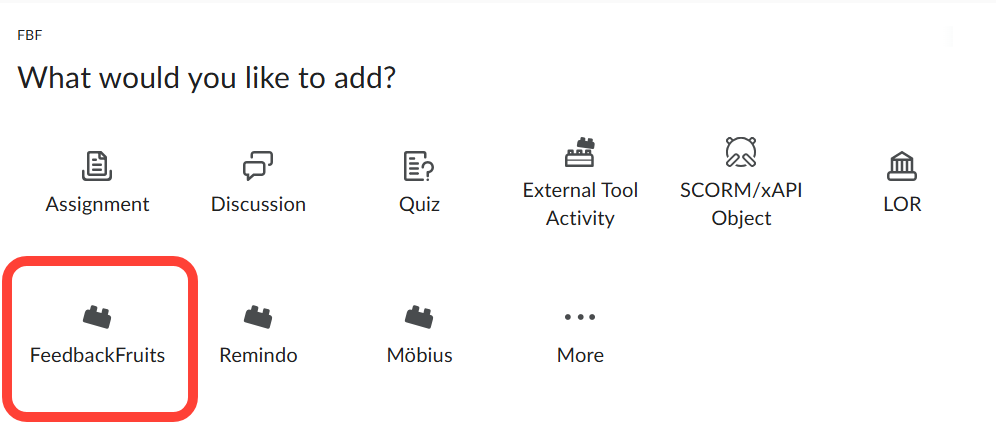
Select the Unit/Folder where you wish to add the Peer Review. Click on Add Existing and then select FeedbackFruits.
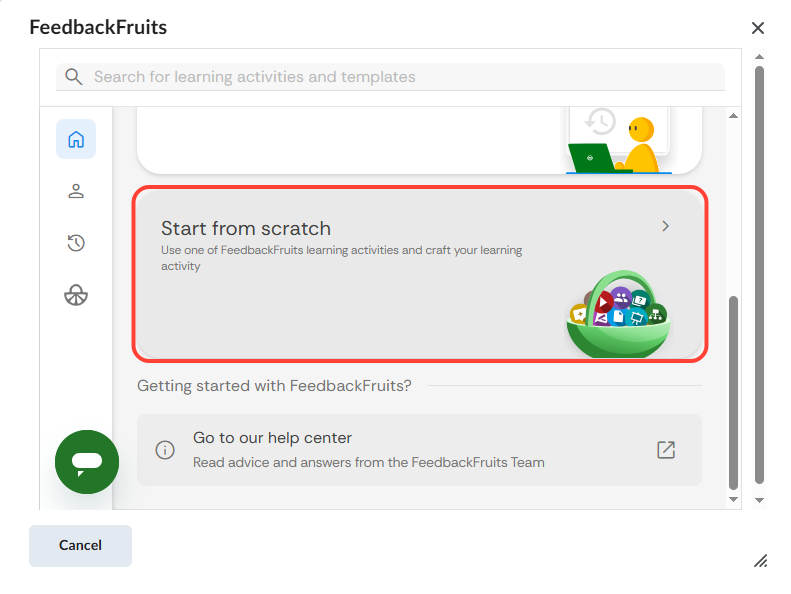
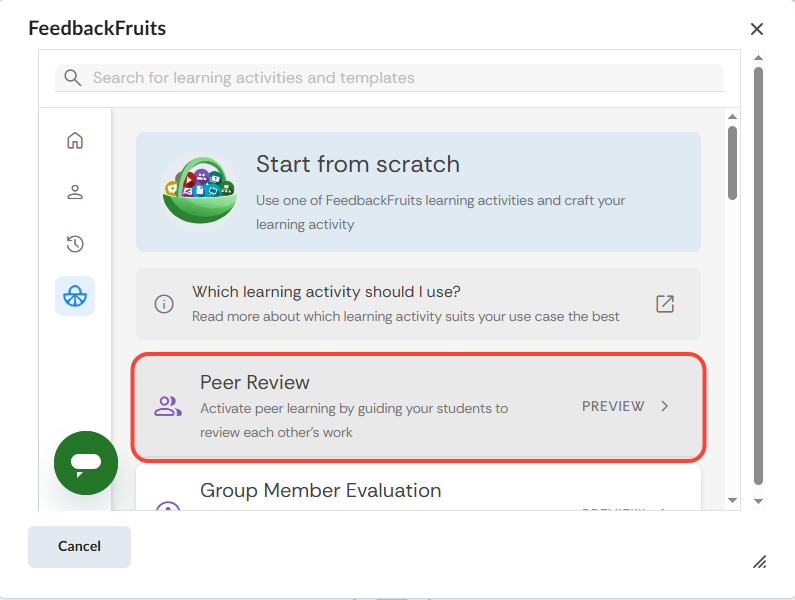
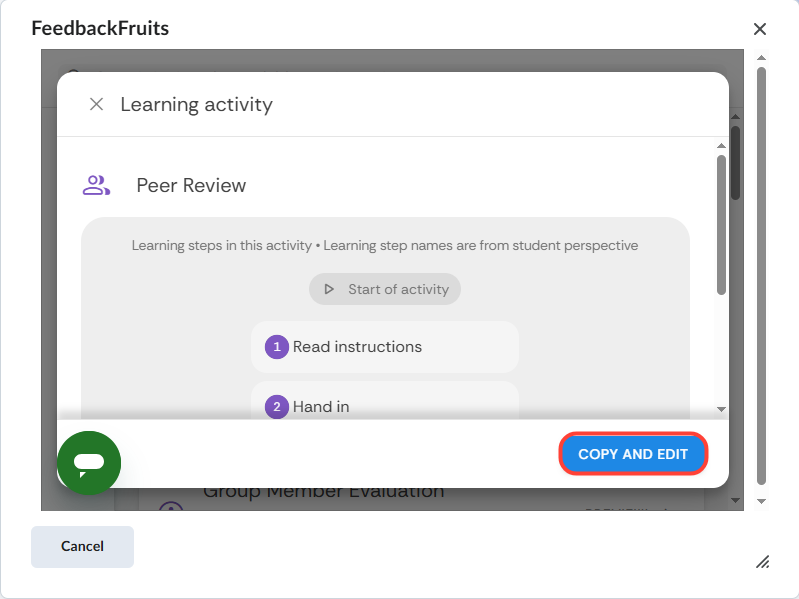
Select Start from scratch and select Peer Review.
Then select COPY AND EDIT
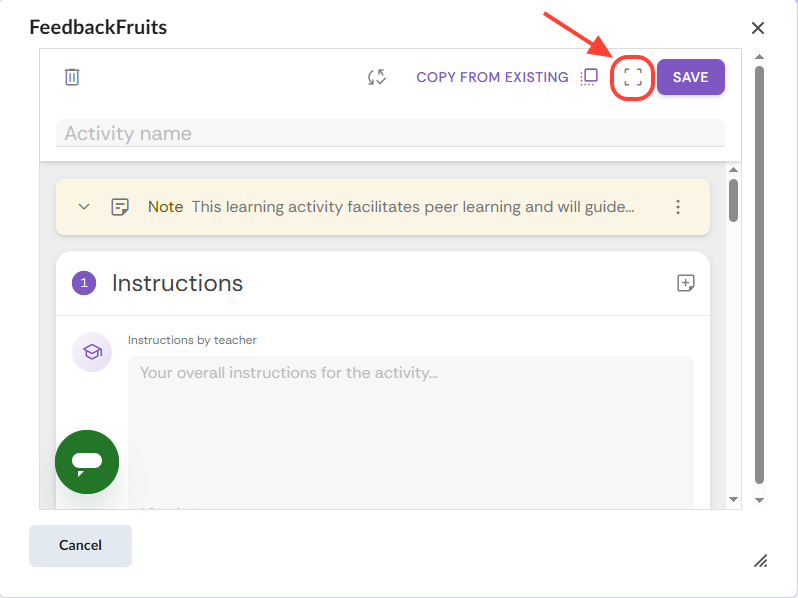
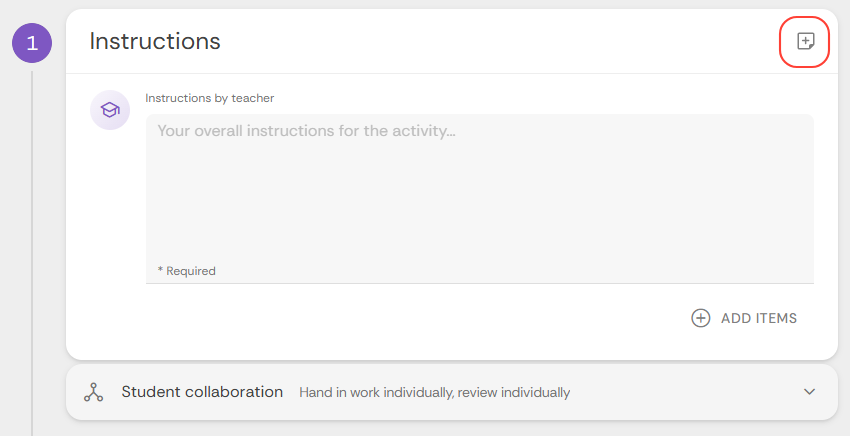
First, enter the Activity name at the top, then enter the Instructions by teacher under step 1 Instructions.
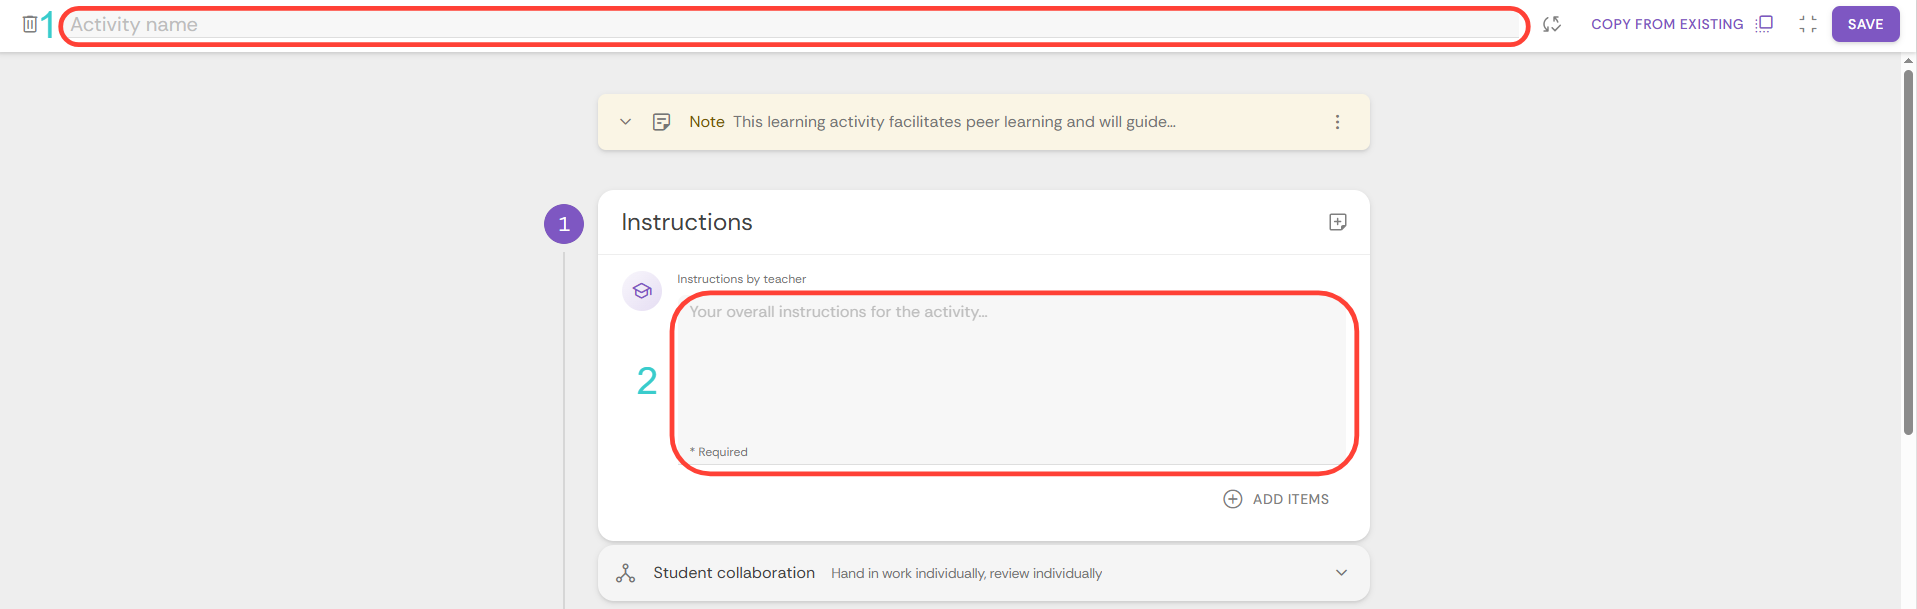
Under Student collaboration, you can indicate whether students submit work individually or as a group and whether they are assessed individually or as a group.
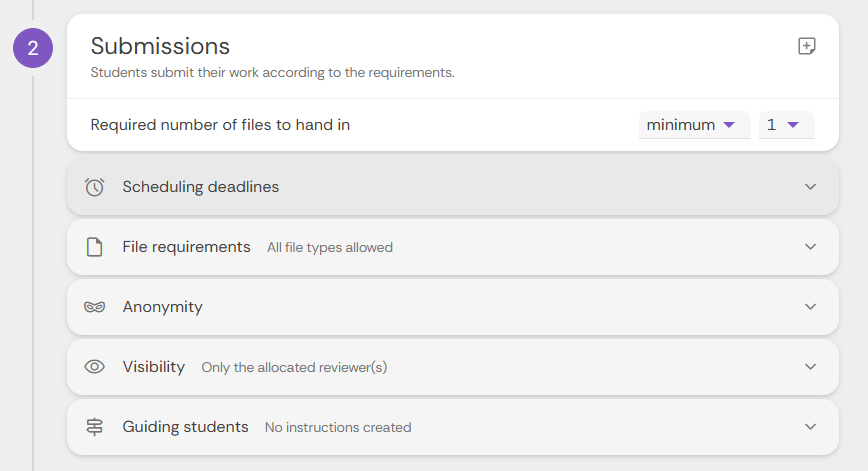
Next, under step 2 Submissions, you can adjust all kinds of settings for submitting:
- Required numbers of files to hand in: here you indicate how many files may/must be submitted.
- Scheduling deadline: here you can enter a deadline after which submissions will no longer be accepted..
- File requirements: please specify here which types of files may be submitted..
- Anonymity: please indicate here whether the submitted work should be anonymised for fellow students (as an instructor, you will always see the names of the students who have submitted work).
- Visibility: indicate here who can view the submitted work.
- Below Guiding students you can provide additional instructions for submitting work.
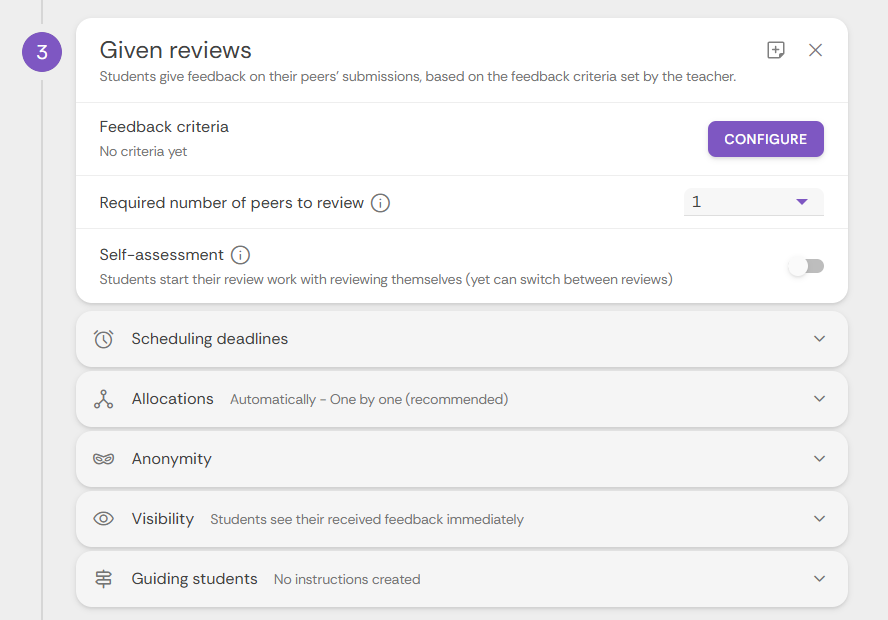
Under step 3 Given reviews, you can adjust settings for reviewing:
- Feedback criteria: here you can configure the criteria for the feedback by creating a new rubric or by selecting previously created rubrics.
- Required number of peers to review: indicate how many students should be reviewed by one student.
- Self-assessment: turn this slider on if you want students to review themselves first.
- Scheduling deadlines: here you can enter a deadline after which no more reviews may be given.
- Allocations: indicate here how the submitted work will be distributed (automatically or manually).
- Anonymity: indicate here whether the reviewer should be anonymised for fellow students (as a teacher, you will always see the names of the reviewers).
- Visibility: here you can indicate when students will be allowed to view their reviewed work.
Under Guiding students, you can provide additional instructions for reviewing work.
You can enable Step 4 Received reviews if you want students to be able to provide feedback on the reviews they have received.
Next, under Grading, you can adjust the settings for any marks. If you do not want to assign a mark, you can delete this section using the x:

Additional instructions for instructors
Adding extra steps
If you wish, you can also add other steps by clicking on + Add learning step at the bottom. You can then choose from:
- Automated feedback on writing
- Participation grading
- Reflections
- Feedback-on-feedback (instructor provides feedback on the reviews given)
Are you finished? Then click on SAVE in the top right corner.